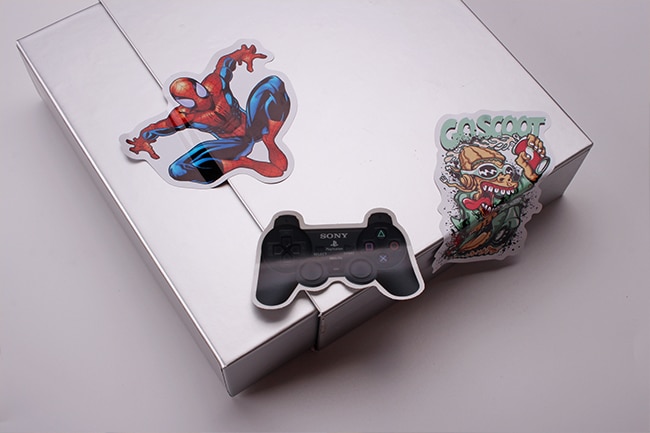
Want to create your own artwork sticker?
Take your digital art out of your computer or iPad’s screen by turning your precious works into stickers. There are many reasons why it’s a good idea to do so: you can use them to decorate your personal items, gift them to friends, or sell them on Etsy.
The choice is definitely up to you. But surely, those great artworks deserve to be showcased to the world. Plus, imagine how rewarding it would be when you get to physically hold and feel the design you have spent hours or days creating.
In this blog, we’ll share tips to help your digital creations come out crisp and vibrant as print-ready artwork stickers.
Table of Contents
Choose an appropriate file format

The file format is a very crucial aspect to consider when preparing your artwork for printing. It is recommended to save them as AI or PDF because the quality remains high no matter the size you want your stickers to get printed. You may use TIFF, JPEG, or PSD as long as they’re high-resolution. However, resizing the images may compromise the quality.
Ensure high resolution

The process of creating artwork for printing requires different technicalities compared to images designed for digital screens like phones or laptops. When working on your sticker designs, it is important to pay extra attention to the resolution.
Although stickers are typically printed in small sizes, working on them with high resolution will maintain the artwork’s quality and sharpness. Set the resolution to at least 300 DPI (dots per inch), and you will get the best quality prints for satisfying results.
Optimize the colours

Just like with the resolution, colour scheming is also important to achieve your vision for the stickers. Use a colour profile suitable for print, like CMYK, because some colours may not translate well from your digital screen to the printed design.
It is essential to optimize your colour palette to maintain your art’s integrity when made into stickers.
Prepare the correct file size

It is essential to prepare your designs in the correct size that you want to print them. When rescaling the file to get to your desired size, chances are the elements would not get proportionally resized. You may end up having to redesign the whole thing or get not-so-satisfying stickers.
Consider the artwork sticker shape

It is a good idea to plan in advance the shape of the artwork sticker so you can adjust the artwork according to your desired dimension. Do you want them in the classic circle or square or cut exactly to their unique shape? If the latter, you can get them in custom die-cut for a bespoke look.
It is also best to decide in advance if you want the stickers cut individually or compile several designs in a sticker sheet. That way, you can prevent any issues when sending the artwork to your chosen printing company.
Leave space for bleed and cut lines

The bleed refers to the area around the artwork extending beyond the final edge of the artwork sticker. This is important to allow slight shifts during the printing and cutting process. The cut line, on the other hand, is the area where the stickers get trimmed. It is crucial to include this element to prevent any important details from getting cut off, and the designs fit perfectly within your desired dimension.
Bonus tip: Choose a reliable printing company
Once everything is settled for your artwork sticker, like the size, file format, colour profile, resolution, etc., it is finally time to look for a printing shop that specializes in sticker printing.
At StickerMarket, we have significantly long years of experience in the sticker printing industry. We offer a wide range of quality paper-based and vinyl-based stickers.
All in all, creating sticker-ready digital artwork requires attention to detail and careful consideration to get the best results. By following these tips, you can ensure that your artwork looks fantastic as a sticker.
If you want to see more stickers, visit StickerMarket!


